
Tattoo Method Pro
The most comprehensive course ever created for those who want to learn how to tattoo. With more than 200 lessons Tattoo Method Pro is the definitive pathway into the tattoo industry.
The Fundamentals of Tattooing
The perfect start to your tattooing journey, the Fundamentals of Tattooing will take you from your first line with a machine to being able to complete fully shaded designs.

Studio Accelerator Pro
14 Week Programme for Tattoo Artists who want to be booked solid. This course will teach you how to flourish in the tattoo industry.

The 1% Tattoo Experience
Book a tattoo appointment with one of the most recognisable artists on the planet. Available worldwide.
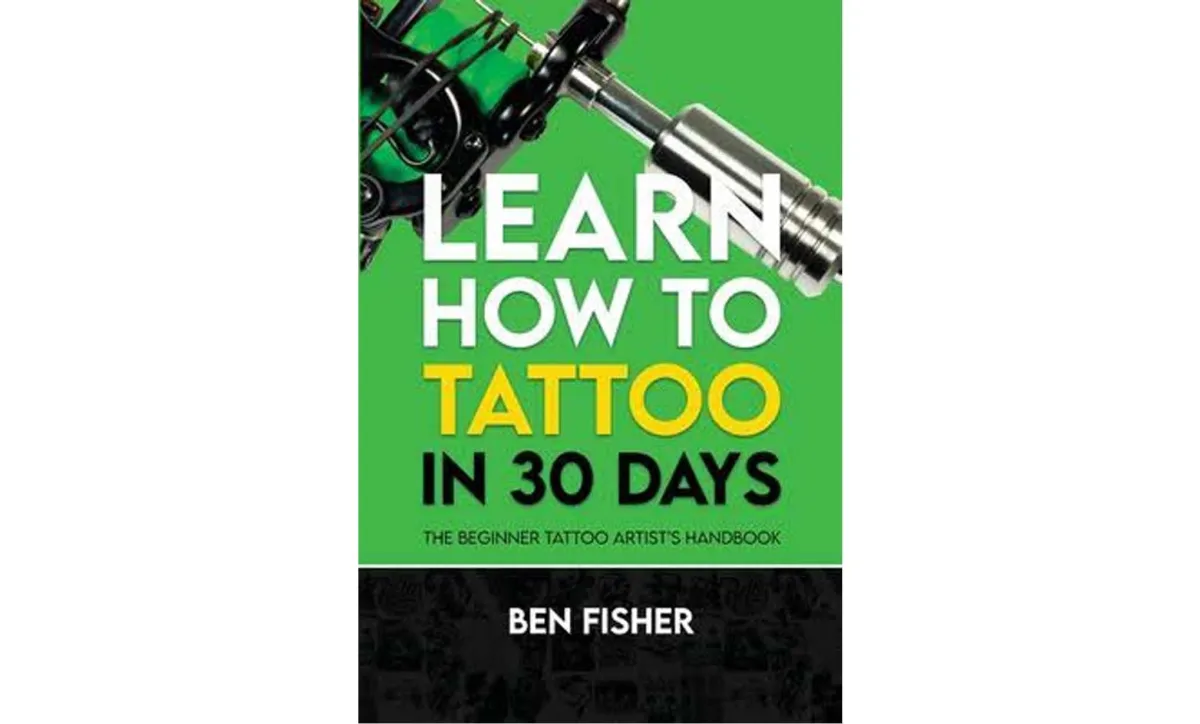
Learn How to Tattoo in 30 Days Book
The Ultimate Beginner Tattoo Artist's Handbook - perfect for those just starting their journey into the tattoo industry. Includes my story, business advice and the basic principles of tattoo artistry.
Terms of Use
Privacy Policy


THE FUNDAMENTALS
OF TATTOOING

Unlock The Secret Techniques of The Tattoo Industry
There are two kinds of people: those who wait for permission to learn, and those who forge their own future. The only question is: which side are you on?
$497 $67 SPECIAL
30 - DAY MONEY BACK GUARANTEE
TRUSTED BY OVER 100,000 STUDENTS
AVAILABLE FOR LIMITED TIME ONLY
$497 $99 SPECIAL
30 - DAY MONEY BACK GUARANTEE
TRUSTED BY OVER 100,000 STUDENTS
AVAILABLE FOR LIMITED TIME ONLY
$497 $149 SPECIAL
30 - DAY MONEY BACK GUARANTEE
TRUSTED BY OVER 100,000 STUDENTS
AVAILABLE FOR LIMITED TIME ONLY
THE FUNDAMENTALS
Start your journey with the most popular tattooing course ever created. Now combined with the Linework & Shading Bootcamps
$497 $67 SPECIAL
THE FUNDAMENTALS
Start your journey with the most popular tattooing course ever created. Now combined with the Linework & Shading Bootcamps
$497 $99 SPECIAL
THE FUNDAMENTALS
Start your journey with the most popular tattooing course ever created. Now combined with the Linework & Shading Bootcamps
$497 $149 SPECIAL
You have been lied to.
They told you the only way in, was to suffer.
To beg, to clean, to stay broke. And maybe one day, you’ll get to start actually tattooing.
The Truth?
Those who make it,
they don’t wait for permission.
They build. They hustle. They put in the effort.
And with this system, build a career that relies only on their own determination
This is your chance to join the tattooing revolution.
Take it.
$497 $67 SPECIAL
30 - DAY MONEY BACK GUARANTEE
TRUSTED BY OVER 100,000 STUDENTS
$497 $99 SPECIAL
30 - DAY MONEY BACK GUARANTEE
TRUSTED BY OVER 100,000 STUDENTS
$497 $149 SPECIAL
30 - DAY MONEY BACK GUARANTEE
TRUSTED BY OVER 100,000 STUDENTS
WARNING:
Use Responsibly.
This system will teach you techniques that have been
closely guarded by artists for generations.
The techniques taught in this course are
powerful and potentially industry-disrupting.
The author and publisher accept no responsibility
for any loss, damage, or injury resulting from the
use or misuse of the methods shared.
Proceed at your own risk.
WARNING:
Use Responsibly.
This system will teach you techniques that have been closely guarded by artists for generations.
The techniques taught in this course are powerful and potentially industry-disrupting. The author and publisher accept no responsibility for any loss, damage, or injury resulting from the use or misuse of the methods shared.
Proceed at your own risk.
Over 100,000 students have used this system to rewire their skills, reprogram their confidence, and take full control of the machine.
It doesn’t suggest. It installs.
Clarity. Precision. Confidence.
The kind of confidence that makes your lines hit cleaner. The kind that silences the voice in your head saying, “You’re not ready.”
Because that voice was never yours to begin with. It was programmed by doubt, delay, and people who told you tattooing had to be earned through suffering.
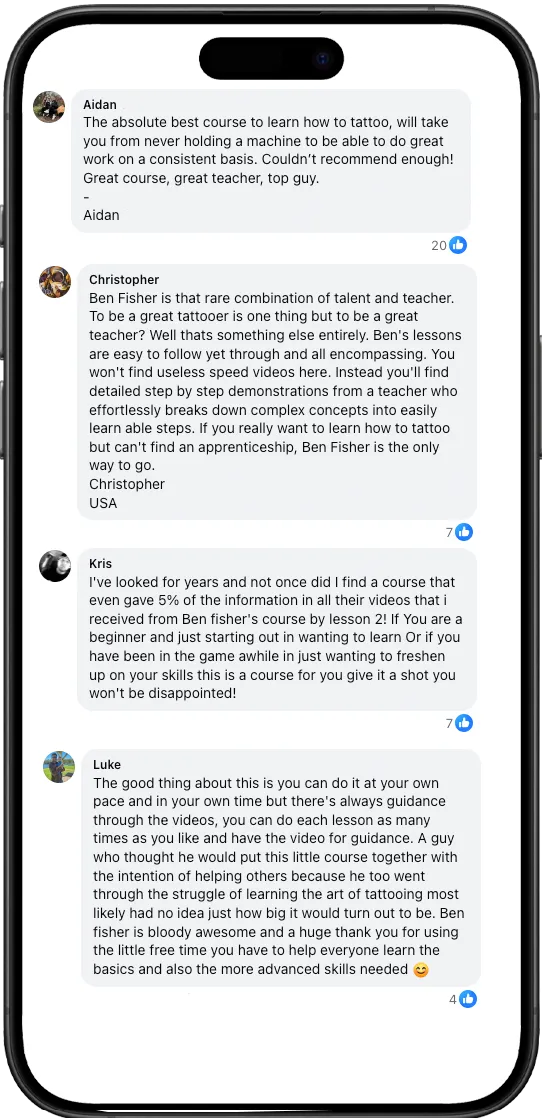
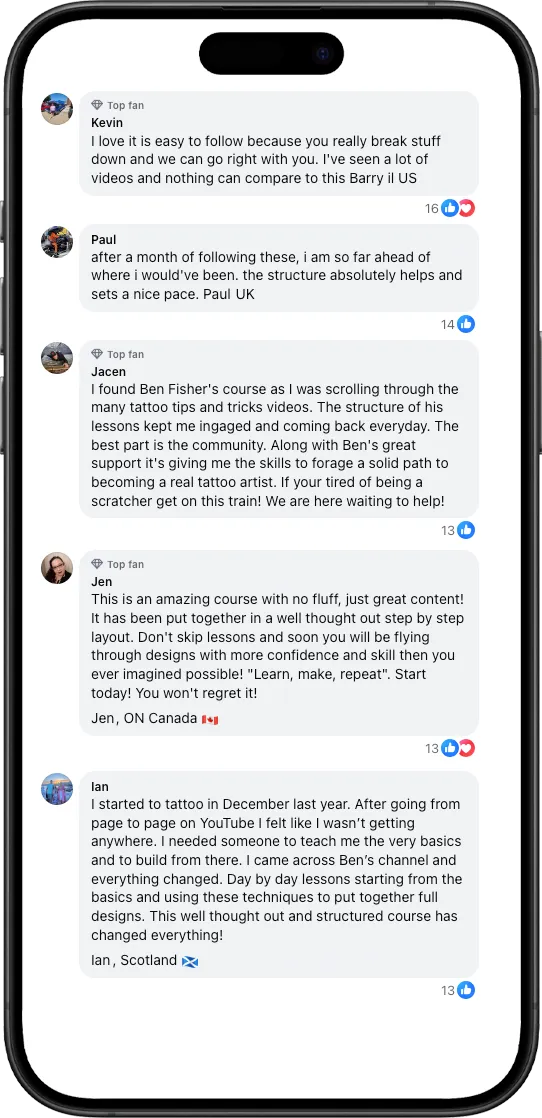
"This system gave me the confidence that I can actually do it and the belief that changing careers is truly possible."
"I’d watched endless random videos before this. The structure here gave me direction, and I finally started making real progress."
Over 100,000 students have used this system to rewire their skills, reprogram their confidence, and take full control of the machine.
It doesn’t suggest.
It installs.
Clarity. Precision. Confidence.
The kind of confidence that makes your lines hit cleaner. The kind that silences the voice in your head saying, “You’re not ready.”
Because that voice was never yours to begin with. It was programmed by doubt, delay, and people who told you tattooing had to be earned through suffering.
"This system gave me the confidence that I can actually do it and the belief that changing careers is truly possible."
"I’d watched endless random videos before this. The structure here gave me direction, and I finally started making real progress."
“This should be banned. Zero respect for tradition, apprenticeships are a right of passage... Not everyone should be allowed to learn to tattoo”

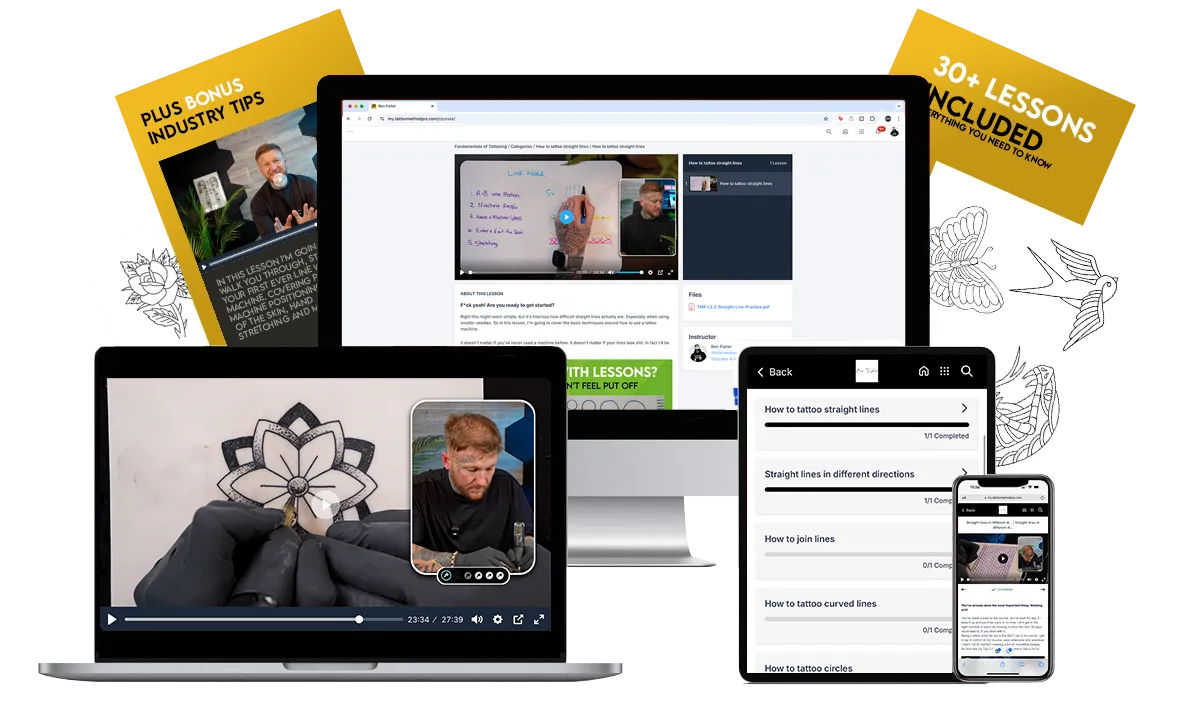
Everything you need to start your journey into Tattoo Artistry
This Is the Framework Behind Every Great Tattooist.
It’s about learning the core principles of tattooing, drilling them with precision, and repeating them until they live in your muscle memory.
This is a system built on method, not motivation.
Every module is a progression.
You learn the concept. You drill it. You repeat it.
Until it’s automatic.
Until you’re fast.
Until you’re clean.
The Only System That Teaches You How to Learn Tattooing.
Module 1
Foundations
You'll set up your station, master stencil basics, get clear on needles and the mindset required to tattoo with intention
Module 2
Linework Basics
You’ll learn how to tattoo straight lines, curves, joins, and circles with accuracy and rhythm, the real foundations of readable, consistent tattoos.
Module 3
Dotwork
You’ll build up your control and contrast with precision dotwork, from solid fills to smooth 3D blends using nothing but repetition and flow.
Module 4
Shading
You’ll develop shading techniques with round shaders, learning to pack, whip, brush, and taper black with control and consistency.
Module 5
Tattoo Designs
You’ll follow five complete guided tattoos using round shaders, locking in muscle memory and stacking real- world skill with every session.
Module 6
Magnum Needles
You’ll learn how to use magnums the right way packing, brushing, whipping, and using the corners
Everything you need to start your journey into Tattoo Artistry
This Is the Framework Behind Every Great Tattooist.
It’s about learning the core principles of tattooing, drilling them with precision, and repeating them until they live in your muscle memory.
This is a system built on method, not motivation.
Every module is a progression.
You learn the concept. You drill it. You repeat it.
Until it’s automatic.
Until you’re fast.
Until you’re clean.
The Only System That Teaches You How to Learn Tattooing.
Module 1
Foundations
You’ll set up your space, master stencil basics, and get clear on needles, depth, and the mindset needed to tattoo with intention
Module 2
Linework Basics
You’ll learn how to tattoo straight lines, curves, joins, and circles with accuracy and rhythm, the real foundations of readable, consistent tattoos.
Module 3
Dotwork
You’ll build up your control and contrast with precision dotwork, from solid fills to smooth 3D blends using nothing but repetition and flow.
Module 4
Shading
You’ll develop shading techniques with round shaders, learning to pack, whip, brush, and taper black with control and consistency.
Module 5
Tattoo Designs
You’ll follow five complete guided tattoos using round shaders, locking in muscle memory and stacking real- world skill with every session.
Module 6
Magnum Needles
You’ll learn how to use magnums the right way packing, brushing, whipping, and using the corners
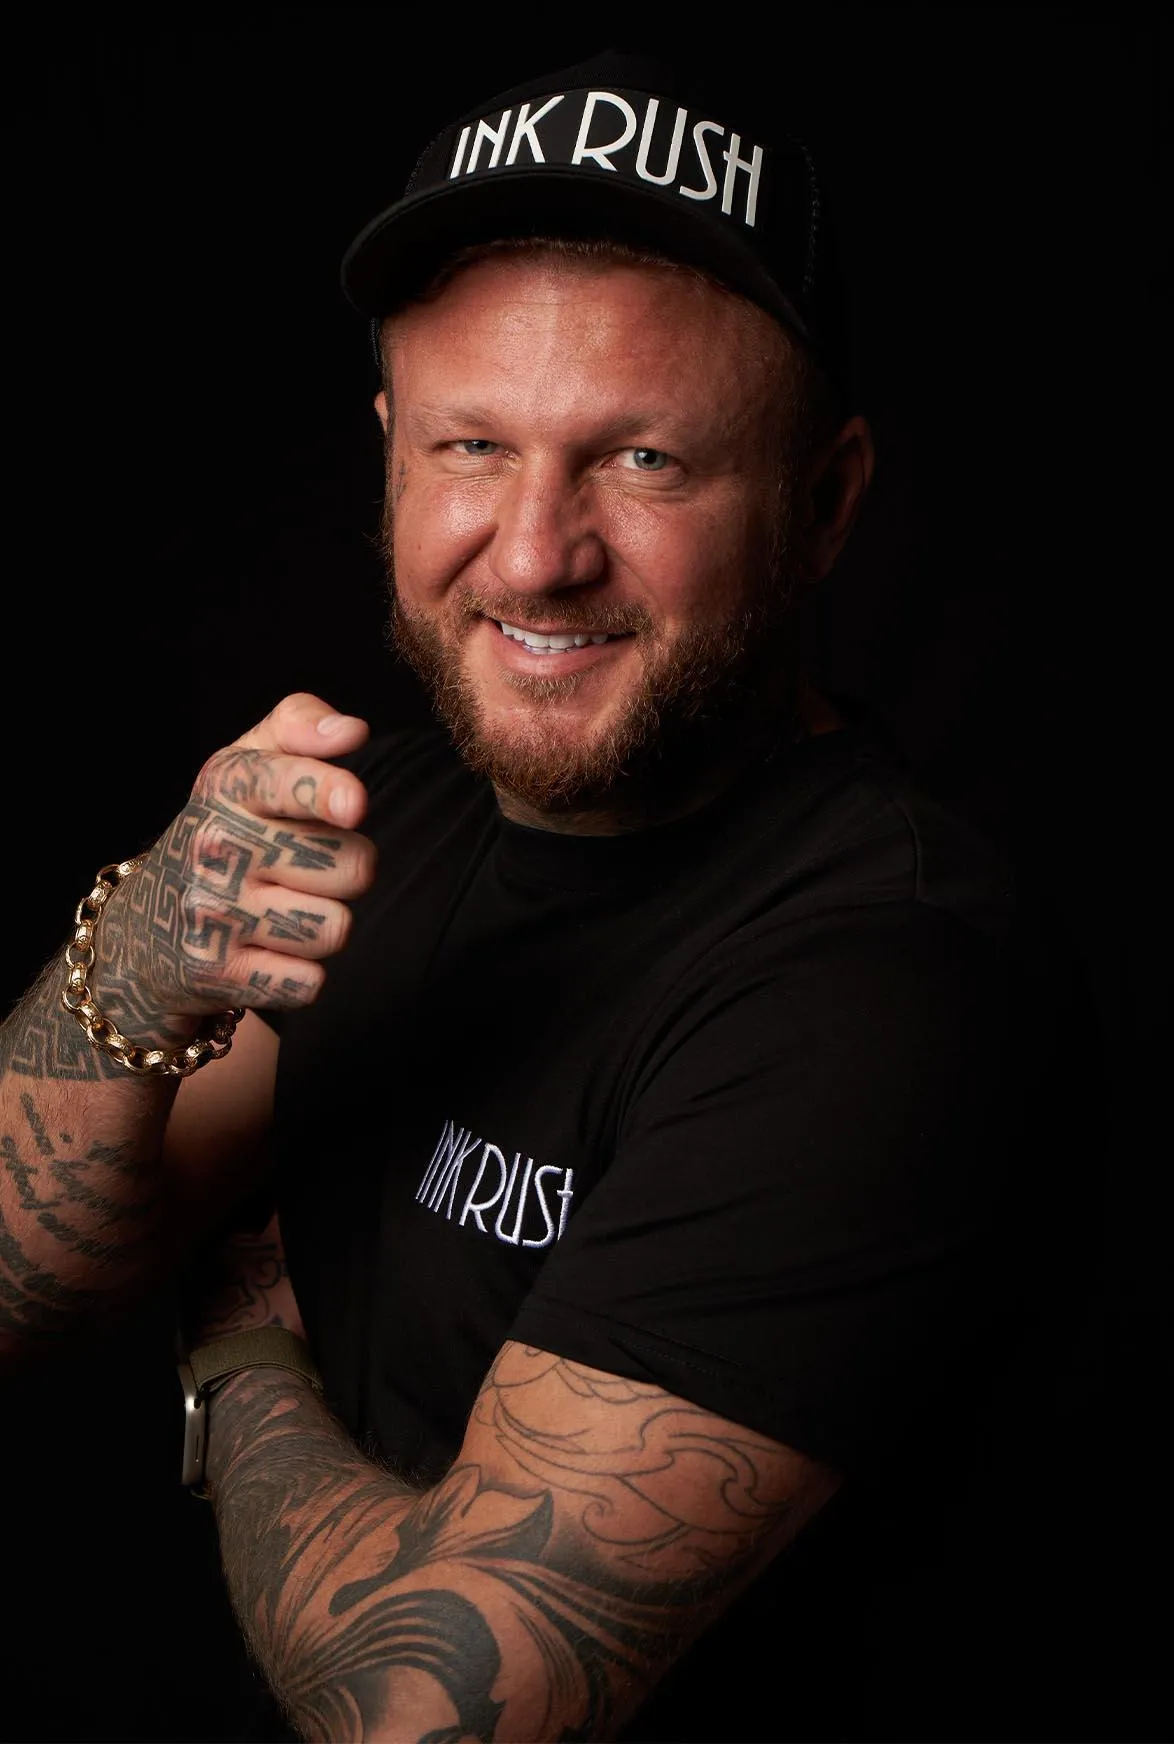
My story, the same as yours
I walked into 15 local tattoo studios, portfolio in hand looking for a chance to prove myself. Only to be turned away and told I would never make it as an artist.
That’s when I realised, the industry wasn’t built to support new talent, it was built to protect egos.
They weren’t looking at my potential. They were protecting their comfort.
So I stopped asking. I stopped seeking approval. I went home, picked up a machine, and taught myself everything they refused to share.
And over time?
The work spoke louder than any shop ever did. My books filled. My name grew. And the same artists who told me “no” started asking if I had space for them.
That’s when I knew: it was never about talent. It was about access.
So I built a system to tear that barrier down. One that gives anyone with discipline a clear path to real skill, no ego, no gatekeeping.
It’s helped over 100,000 students so far.
And I’m just getting started.
My story, the same as yours
I walked into 15 local tattoo studios, portfolio in hand looking for a chance to prove myself. Only to be turned away and told I would never make it as an artist.
That’s when I realised, the industry wasn’t built to support new talent, it was built to protect egos.
They weren’t looking at my potential. They were protecting their comfort.
So I stopped asking. I stopped seeking approval.
I went home, picked up a machine, and taught myself
everything they refused to share.
And over time?
The work spoke louder than any shop ever did.
My books filled. My name grew. And the same artists who told me “no” started asking if I had space for them.
That’s when I knew: it was never about talent.
It was about access.
So I built a system to tear that barrier down. One that gives anyone with discipline a clear path to real skill,
no ego, no gatekeeping.
It’s helped over 100,000 students so far.
And I’m just getting started.
$497 $67 SPECIAL
30 - DAY MONEY BACK GUARANTEE
TRUSTED BY OVER 100,000 STUDENTS
This isn't just about learning to tattoo.
It's about flipping the entire system that's kept people out for years.
No begging for apprenticeships.
No more gatekeepers guarding "secrets" they have no claim to.
No more "tradition" used as a weapon to keep you in your place.
Join thousands of artists from across the world who are already rewriting the rules.
They're learning faster, tattooing cleaner and building careers without asking for permission.
This is the shift the industry never saw coming and either you're part of it or you're watching it happen from the sidelines.
When you join this system, you're not just getting lessons
You're stepping into a movement. A new era where talent, discipline and execution matter more than who you know.
If you ever felt like you didn't belong in the old world of tattooing: Good.
Because we're building
a new one.
$497 $67 SPECIAL
30 - DAY MONEY BACK GUARANTEE
TRUSTED BY OVER 100,000 STUDENTS
$497 $99 SPECIAL
30 - DAY MONEY BACK GUARANTEE
TRUSTED BY OVER 100,000 STUDENTS
$497 $149 SPECIAL
30 - DAY MONEY BACK GUARANTEE
TRUSTED BY OVER 100,000 STUDENTS
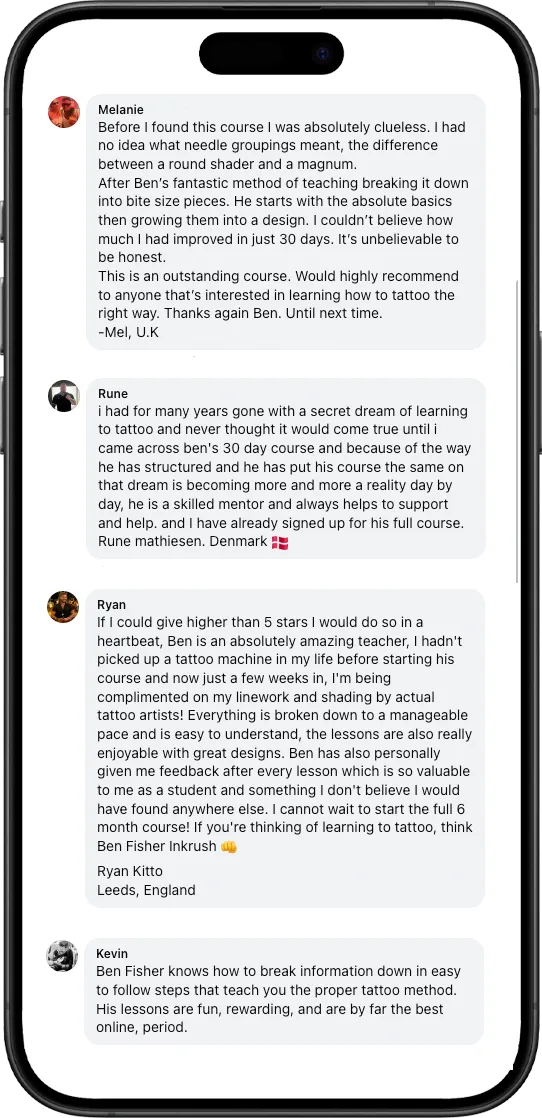
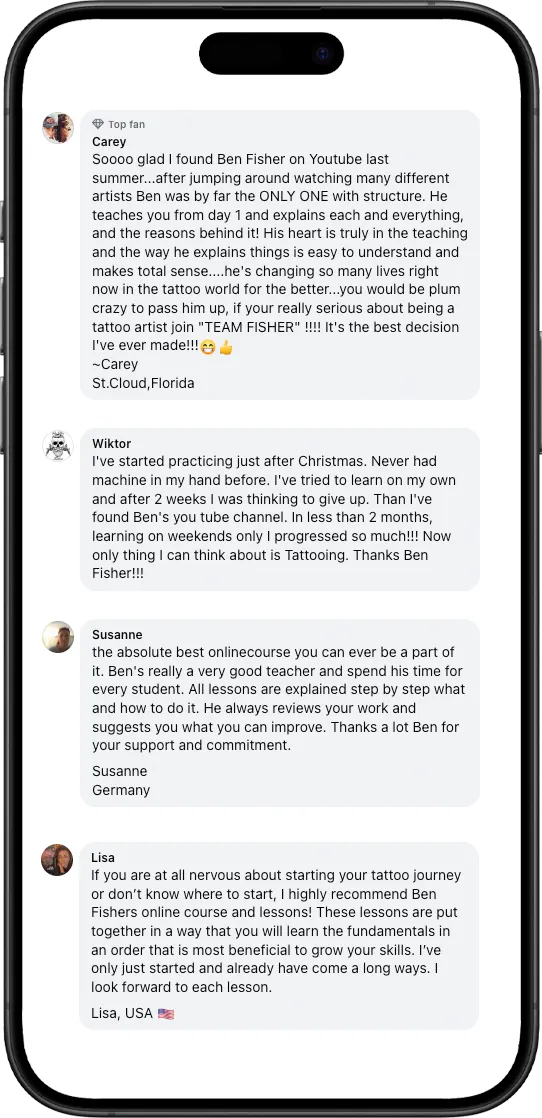
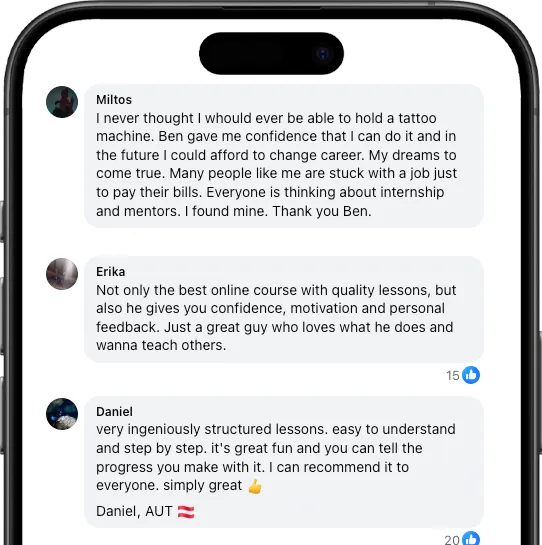
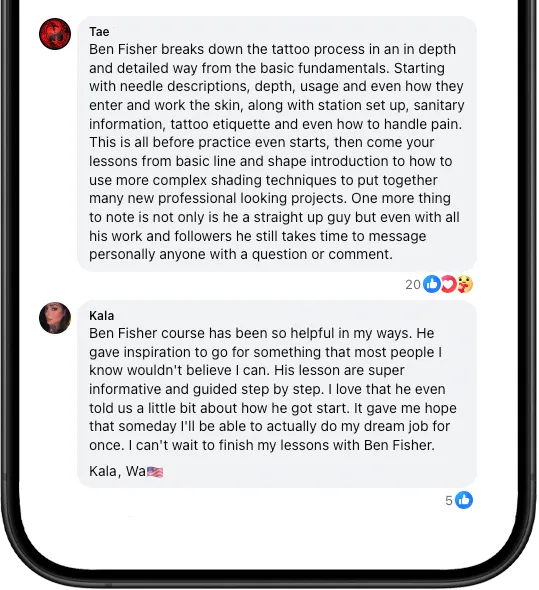
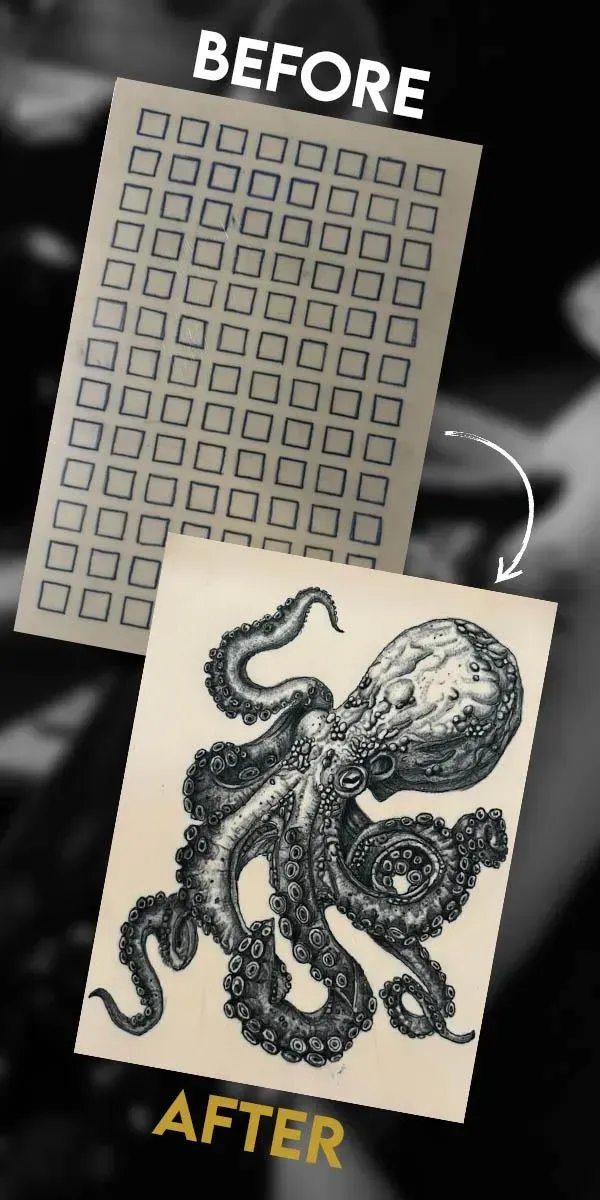
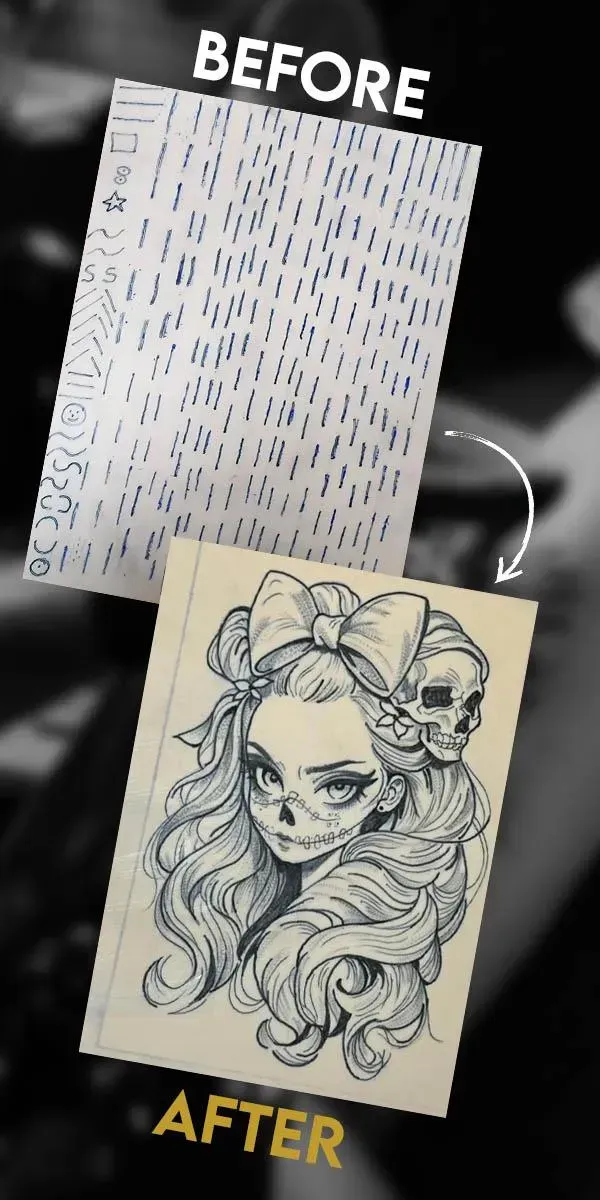
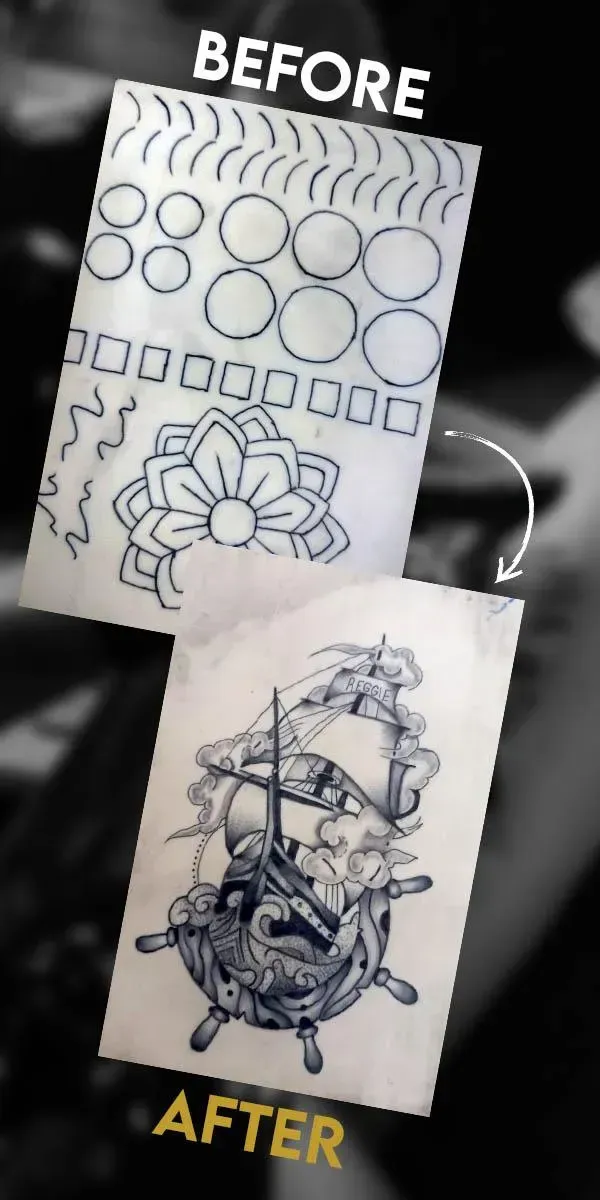
Results Demonstrated Across Thousands
Confidence in this system isn't based on the exceptions, it is based in repeated success across hundreds of thousands of students.
Substantial growth in ability isn't the exception, it's the standard.

$497 $67 SPECIAL
30 - DAY MONEY BACK GUARANTEE
TRUSTED BY OVER 100,000 STUDENTS
$497 $99 SPECIAL
30 - DAY MONEY BACK GUARANTEE
TRUSTED BY OVER 100,000 STUDENTS
$497 $149 SPECIAL
30 - DAY MONEY BACK GUARANTEE
TRUSTED BY OVER 100,000 STUDENTS
Results Demonstrated Across Thousands
Confidence in this system isn't based on the exceptions, it is based in repeated success across hundreds of thousands of students.
Substantial growth in ability isn't the exception, it's the standard.
$497 $67 SPECIAL
30 - DAY MONEY BACK GUARANTEE
TRUSTED BY OVER 100,000 STUDENTS
$497 $99 SPECIAL
30 - DAY MONEY BACK GUARANTEE
TRUSTED BY OVER 100,000 STUDENTS
$497 $99 SPECIAL
30 - DAY MONEY BACK GUARANTEE
TRUSTED BY OVER 100,000 STUDENTS
Today, you decide your path.
Will you be left in the past, or take a step into the future?
Every day you hesitate, someone else moves forward. They’re getting better, building their name, taking clients you could’ve had. This industry doesn’t wait—and neither does success. So be honest: are you going to finally make a move… or keep watching from the sidelines while others build the career you keep talking about?
THE FUNDAMENTALS
OF TATTOOING
The industry is against you, this system
gives you the ability to take control of your future.
The 30 Day Guarantee
Use these techniques for 30 days. If you don't make progress, I'll
give you your money back. All I ask is that you prove you've applied this system.
$497 $67 SPECIAL
30 - DAY MONEY BACK GUARANTEE
TRUSTED BY OVER 100,000 STUDENTS
THE FUNDAMENTALS
OF TATTOOING
The industry is against you, this system
gives you the ability to take control of your future.
The 30 Day Guarantee
Use these techniques for 30 days. If you don't make progress, I'll
give you your money back. All I ask is that you prove you've applied this system.
$497 $99 SPECIAL
30 - DAY MONEY BACK GUARANTEE
TRUSTED BY OVER 100,000 STUDENTS
THE FUNDAMENTALS
OF TATTOOING
The industry is against you, this system
gives you the ability to take control of your future.
The 30 Day Guarantee
Use these techniques for 30 days. If you don't make progress, I'll
give you your money back. All I ask is that you prove you've applied this system.
$497 $149 SPECIAL
30 - DAY MONEY BACK GUARANTEE
TRUSTED BY OVER 100,000 STUDENTS


The Tattoo Industry is built on gatekeeping and egos rather than talent and ambition. It's time to burn down this broken system and build something beautiful from the ashes. A creative industry based on creativity, where you don't need permission to succeed. Are you in?
Why It Works
Tattoo artistry is not natural talent, it is a skill developed over time. This system takes a unique approach, providing the theory and then drills created specifically to lock each technique into muscle memory. The structured curriculum then gradually builds and refines on these techniques ensuring students learn in the correct order.
Buy using the Learn, Drill, Repeat mantra students progress their abilities at an expedited rate.
The Fundamentals of Tattooing course focuses on the core principles, valuing the perfection of basics before moving to full tattoo designs. Learning in the correct order at the start of a students journey is vitally important to their long term growth.
Who It's For
The Fundamentals of Tattooing is for those who want to learn correctly. This is not a course for anyone who is considering the purchase of a tattoo machine and immediately & unsafely completing tattoos on people.
It is for those who care deeply about art and value creativity above tradition. For those who are cast aside by the industry. For those who want to make a change.
If you are tired of being overlooked, ignored by artists you seek apprenticeships from - you are in the right place.
Join our community and become part of the revolution sweeping across the tattoo industry.
The Ethics of Teaching
Although this course is at the forefront of leading disruptive change within the tattoo industry, it does not promote unsafe or unhygienic tattooing by those new & inexperienced.
The goal of this system is to enable anyone passionate about learning this is incredible art form to do so. But they must do so safely. Completing tattoos early on in student's journeys is strictly forbidden, any students found to be doing so will be removed from the course.
This movement isn’t about shortcuts.
It’s about access with responsibility.
Permanently scarring potential customers at the start of your journey is the quickest way to end your career. Don't do it.
Table of Contents
Module 1 - Introduction
Welcome to the Course
Tattoo Station Setup & Hygiene
Tattoo Stencils for Beginners
How to apply Stencils to Fake Skin
Tattoo Needles Explained
Needle Depth Explained
Module 2 - Linework Basics
How to Tattoo a Straight Line
Straight Lines in Different Directions
How to Join Lines
How to Tattoo Curved Lines
How to Tattoo Circles
Practice Mandala outlines
Practice Rose outlines
Different sized Lining Needles Explained
Module 3 - Dotwork
How to Tattoo Dotwork: Packing Solid Black
How to Tattoo Dotwork: Different Shades
How to Tattoo Dotwork: Smooth Blends
How to Tattoo Dotwork: 3D Ball
How to Tattoo Dotwork: 3D Cube
How to Tattoo Dotwork: 3D Cylinder
How to Tattoo Dotwork: Mandala Design
How to Tattoo Dotwork: Rose Design
How to Tattoo Dotwork: Eye Design
Module 4 - Shading
Blood Lining & Tapering
Linework Speed Drill
Round Shader Needle Explained
How to Pack Solid Black with a Round Shader
How to Whip Shade with a Round Shader
How to Brush Shade with a Round Shader
Module 5 - Practice Designs
Round Shader Follow Along Tattoo Design 1
Round Shader Follow Along Tattoo Design 2
Round Shader Follow Along Tattoo Design 3
Round Shader Follow Along Tattoo Design 4
Round Shader Follow Along Tattoo Design 5
Module 6 - Magnum Needles
Common Mistakes Beginners make with a Magnum Needle
How to Pack Solid Black with a Magnum Needle
How to Whip Shade with a Magnum Needle
How to use the corner of the Magnum Needle
How to Brush Shade with a Magnum Needle
Linework Bootcamp Lessons
Linework Bootcamp Lesson 1: Lemon Slice
Linework Bootcamp Lesson 2: Ramen Bowl
Linework Bootcamp Lesson 3: Sunglasses
Linework Bootcamp Lesson 4: Fish
Linework Bootcamp Lesson 5: Flower
Shading Bootcamp Lessons
Shading Bootcamp Lesson 1: Lemon Slice
Shading Bootcamp Lesson 2: Ramen Bowl
Shading Bootcamp Lesson 3: Sunglasses
Shading Bootcamp Lesson 4: Fish
Shading Bootcamp Lesson 5: Flower
The Early Bird Offer
You may be wondering: "If this system is so revolutionary, why are you giving it away for this much?"
The answer is simple: Because we’re not just selling a course—we’re building a movement.
And that movement starts with attracting the right kind of people. We value those who move with intention. Who don’t wait to be told it’s time. Who see an opportunity and take it—not next week, not next year—now.
This early bird price isn’t about discounting the value of what we’ve created. It’s about rewarding decisiveness. It’s about giving first access to the artists who have the drive, the mindset, and the commitment to lead this new wave of tattooing. Because if we’re going to break down barriers and change the industry—we want to do it with people who are serious. People who understand that movements aren’t built by the hesitant. They’re built by the bold.
By taking action now, you’re not just getting in at the best possible price.
You’re showing us—and yourself—that you’re exactly the kind of artist this industry needs more of.
Money-Back Guarantee
There is a full 30 day money back guarantee - if you can demonstrate that you have followed this system and not seen significant improvement, a full refund will be provided.
Students have improved exponentially with the Fundamentals of Tattooing
The 30 Day Guarantee
Use these techniques for 30 days.
If you don't make progress, I'll
give you your money back.
All I ask is that you prove you've applied this system.
THE FUNDAMENTALS
OF TATTOOING
The industry is against you, this system gives you the ability to take control of your future.
$497 $67 SPECIAL
30 - DAY MONEY BACK GUARANTEE
TRUSTED BY OVER 100,000 STUDENTS
$497 $99 SPECIAL
30 - DAY MONEY BACK GUARANTEE
TRUSTED BY OVER 100,000 STUDENTS
$497 $149 SPECIAL
30 - DAY MONEY BACK GUARANTEE
TRUSTED BY OVER 100,000 STUDENTS
Why It Works
Lorem ipsum dolor sit amet, consectetur adipisicing elit. Autem dolore, alias, numquam enim ab voluptate id quam harum ducimus cupiditate similique quisquam et deserunt, recusandae.
Who It's For
Lorem ipsum dolor sit amet, consectetur adipisicing elit. Autem dolore, alias, numquam enim ab voluptate id quam harum ducimus cupiditate similique quisquam et deserunt, recusandae.
The Ethics of Teaching
Lorem ipsum dolor sit amet, consectetur adipisicing elit. Autem dolore, alias, numquam enim ab voluptate id quam harum ducimus cupiditate similique quisquam et deserunt, recusandae.
What's Included
Lorem ipsum dolor sit amet, consectetur adipisicing elit. Autem dolore, alias, numquam enim ab voluptate id quam harum ducimus cupiditate similique quisquam et deserunt, recusandae.
Table of Contents
Lorem ipsum dolor sit amet, consectetur adipisicing elit. Autem dolore, alias, numquam enim ab voluptate id quam harum ducimus cupiditate similique quisquam et deserunt, recusandae.
Money Back Guarantee
Lorem ipsum dolor sit amet, consectetur adipisicing elit. Autem dolore, alias, numquam enim ab voluptate id quam harum ducimus cupiditate similique quisquam et deserunt, recusandae.
FAQ
How I need existing artistic ability?
Not necessarily. It always helps to start your journey into tattoo artistry with a background in art. However it is possible for anyone to complete this course and be able to complete fully shaded designs by the final lessons.
Alongside this course it would be recommended to look for basic drawing classes or courses if you have concerns about ability.
Will I get feedback on my work?
Yes. Throughout this programme you will have the opportunity for 1-on-1 feedback on your work from the course tutor.
Is it possible to learn online?
Absolutely. Many of the best artists in the world are entirely self taught using only online resources. This system has proven success across thousands of students, who have now created careers within the industry.
Do you offer other courses?
Tattoo Method Pro: the most detailed online course every created for tattoo artists, with hundreds of lessons specifically designed with one purpose. To teach students to learn to a world class level of ability.
Studio Accelerator Pro: A 14 Week programme created to give students the essential knowledge of how to run a thriving tattoo studio.
Ben's Business Method: A huge 200+ lesson system that covers every element of running a business, for those dedicated to creating the most successful business possible.
Will this system help get an apprenticeship?
Yes. If based in an area that still requires set hours working in a licensed tattoo studio, having a strong understanding of the Fundamentals will improve the likelihood of being taken on. Ensure you build a strong portfolio that combines mats from this course with other media (drawings, paintings, mixed media).
What equipment is required?
A full list of equipment can be found in the introduction email upon purchase of the course, alongside in the first module. This will generally consist of a machine, needles, inks, mats and accessories.
Can I start without equipment?
Yes. It is encouraged to start watching through the lessons and completing drills using pencil and paper if you do not have all of the equipment yet.
Is there a certificate?
Yes. You will receive the Fundamentals of Tattooing certification upon successful completion of the course. The completion process requires all students to submit their work for assessment.
Tattoo Method Pro
Industry leading courses, resources and marketing for tattoo artists